Previously, I demonstrated how to configure Blackstar CMS to use SSL/TLS to secure connections. This post will describe the other security features of Blackstar CMS, principally authentication and authorization.
Security Settings
The admin application has settings for controlling access to Blackstar CMS.
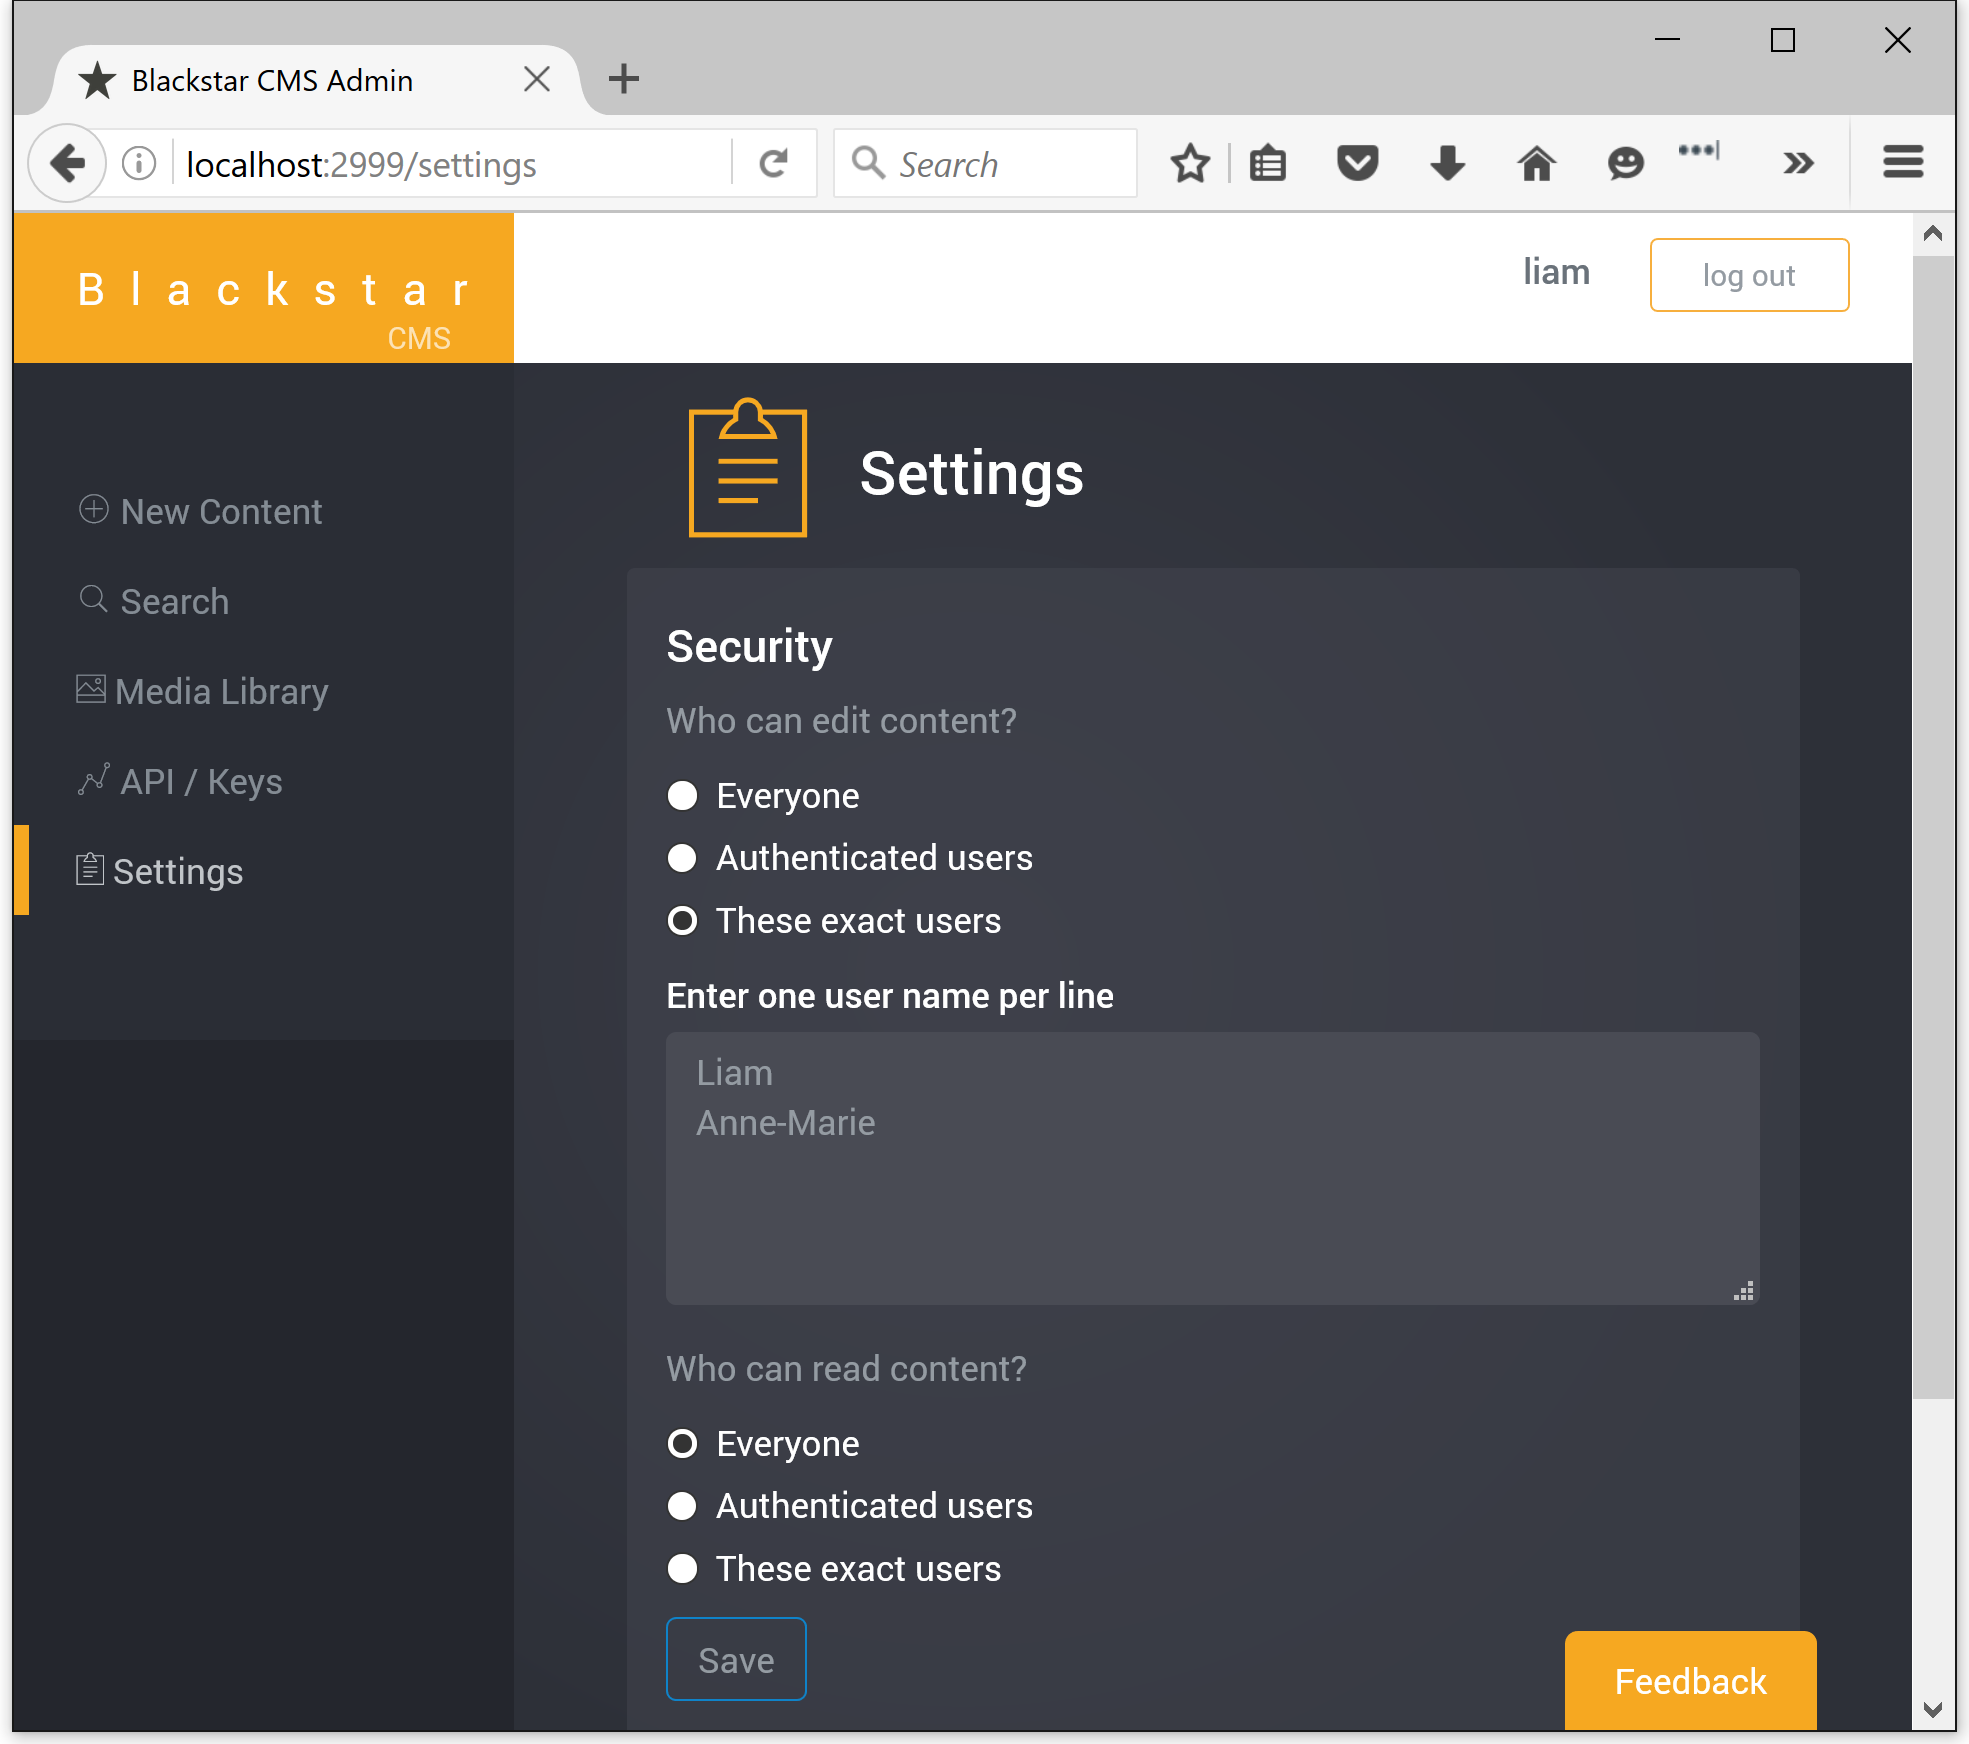
Access is restricted in two categories: editing and reading. For each category you can specify who has permission: everyone, all authenticated users, or a specific set of authenticated users.
The above configuration restricts access to the admin application, and all editing functions, to the users Liam and Anne-Marie. Reading content via the API is open to everyone and does not require authentication. Many scenarios will use a similar setting - editing is restricted, reading is not.
Where authentication is required, clients require an API key. The admin application has an API / Keys page where API keys can be created.
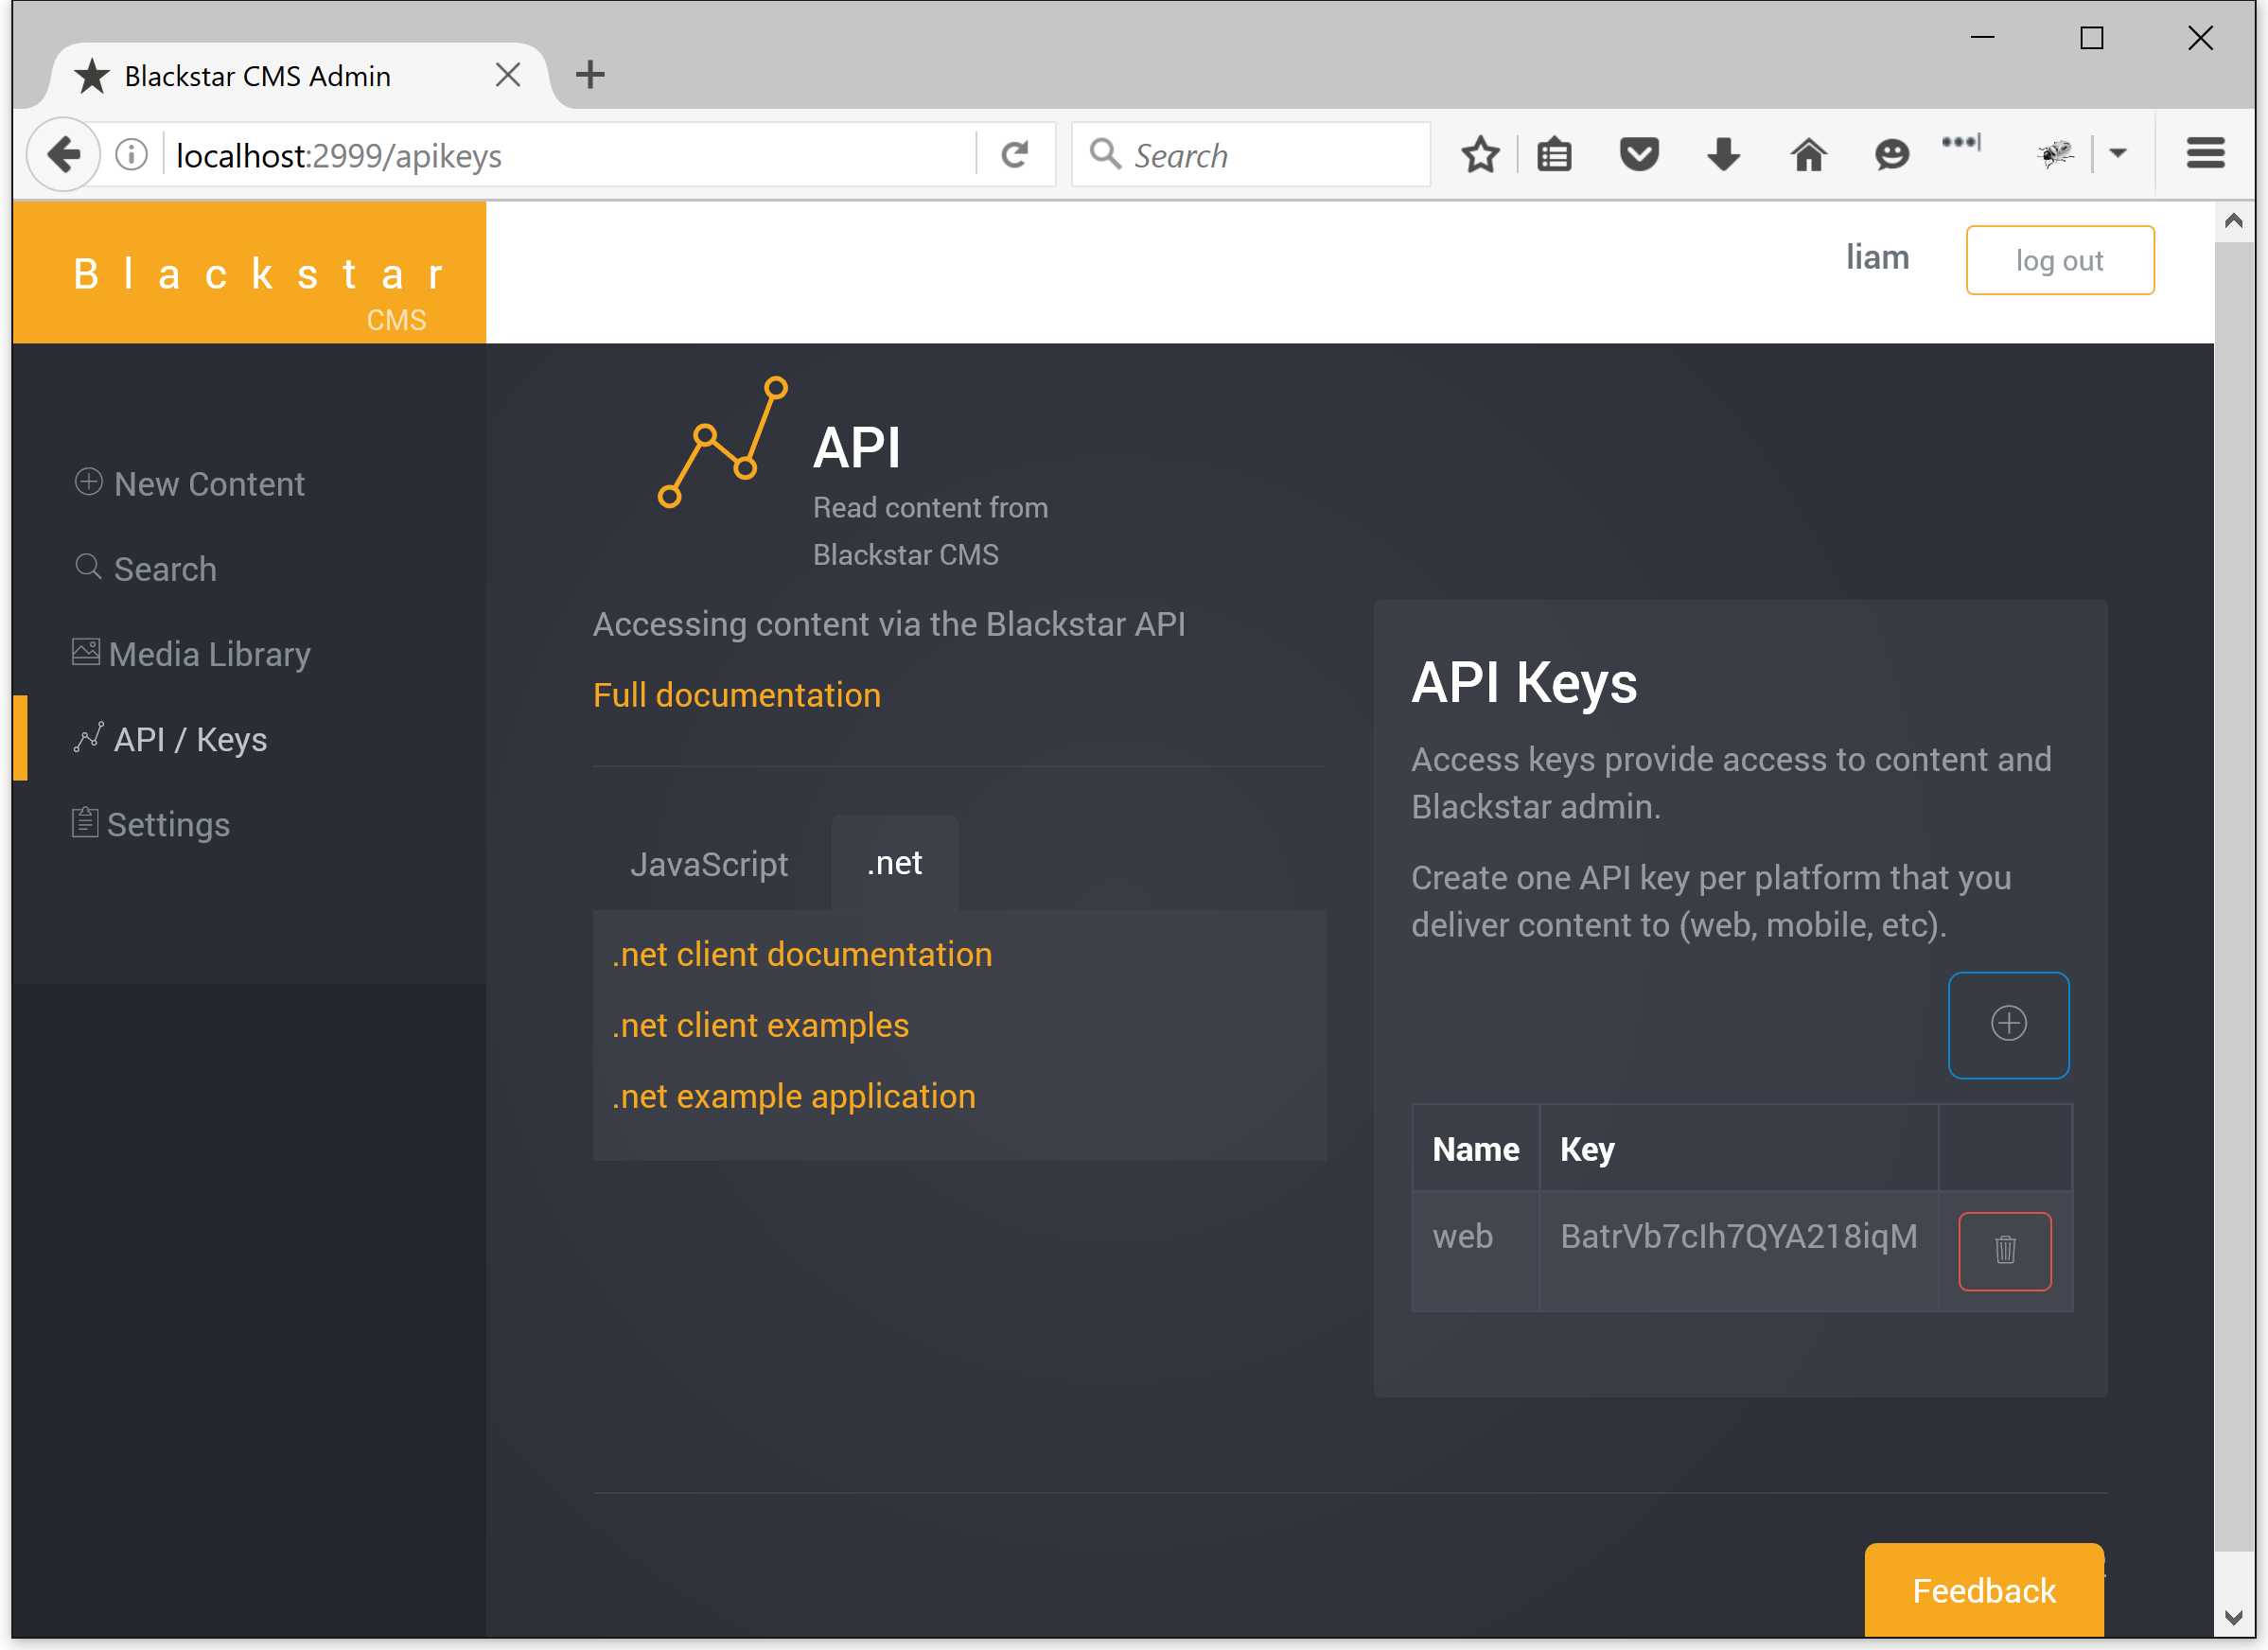
Keys are given a name to help you remember what they are for. You should create one key per channel that accesses content, for example, one for your web application and one for your mobile application. Each key provides complete access to everything so they must be kept secret.
API Security
The API is Blackstar’s most important interface, so let’s start there. When connecting to the Blackstar API client’s may need to authenticate. Authentication is the process of establishing a trusted identity and is achieved using JSON Web Tokens (JWT). A JWT is a cryptographically signed authentication claim. The client signs a claim using a secret API key. The server validates the token with the same API key. If the token validates then the server knows that the client has the same key and the claim can be trusted.
Once the client has created a JWT it is then included with every request, in the Authorization header, like so:
Authorization: Bearer eyJhbGciOiJIUzI1NiIsInR5cCI6IkpXVCJ9.eyJuYW1lIjoiTGlhbSIsImlhdCI6MTQ3MDM3MTQ1MCwiZXhwIjoxNDcwNDU3ODUwfQ.Nl2k32tcAHWhxDURL_fN08bgbrxfA9CSXWeA0nDPwso
Every request received by the server will check the authorization header and attempt to validate the token. The token includes the current user’s identifier, which can then be used for authorization.
When using the Blackstar JavaScript client this is all taken care of for you. The only requirement is to supply a JWT when instantiating a new client, like this:
var blackstar = new Blackstar.Client('https://demo.blackstarcms.net', {
  showEditControls: false,
  token: 'eyJhbGciOiJIUzI1NiIsInR5cCI6IkpXVCJ9.eyJuYW1lIjoiTGlhbSIsImlhdCI6MTQ3MDM3MTQ1MCwiZXhwIjoxNDcwNDU3ODUwfQ.Nl2k32tcAHWhxDURL_fN08bgbrxfA9CSXWeA0nDPwso',
  authCallback: function (response) {
    // do something if the server return 401 Unauthorized
  }
});
To create a token in your application first acquire an API key from the Blackstar CMS admin application, then build a JWT token with a name value containing the current user’s user name and an optional expiresIn value. For example:
jwt.sign({ name: "liam" }, "BatrVb7cIh7QYA218iqM", {
    expiresIn: 3600 * 24
});
(note: "BatrVb7cIh7QYA218iqM" is the API key)
Admin Application Security
To authenticate with the admin application simply append ?t=<JWT token> to the URL. If the user named in the token has the editing permission then you will get access. This is the recommended way to access the admin application, however, if you have not yet setup your application to be able to produce the JWT token, then you can authenticate via the login page:
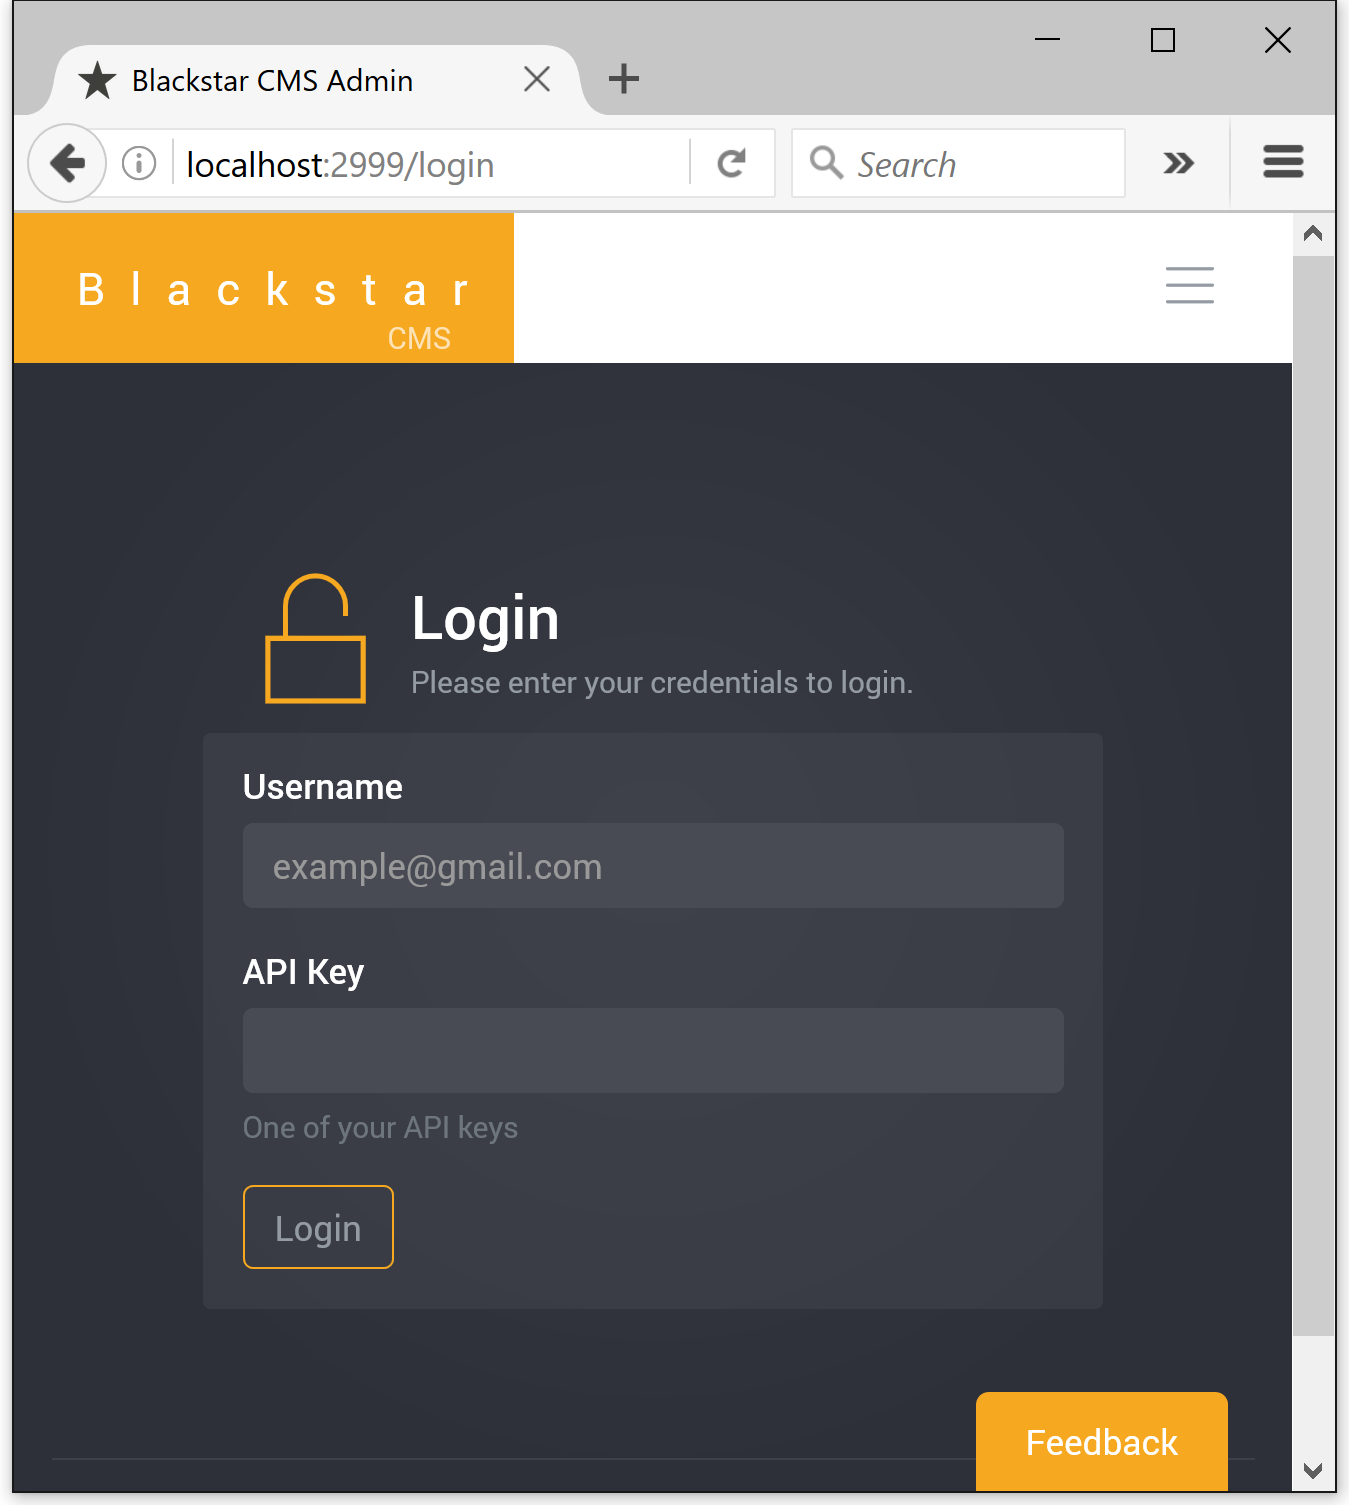
The use of the login page is not recommended because it requires knowledge of an API key, and they need to be kept secret. The login page simply creates a JWT token (as above) and redirects to <url>?t=<JWT token>.
Conclusion
Blackstar CMS’s security features are designed to be simple, yet flexible. Please provide your feedback to liam at blackstarcms.net.